Saturday, December 31, 2011

Christmas Gifts 2011

Happy New Year to you all!  I got quite a bit of sewing done before Christmas to give away as gifts.  I had a few purses that I wanted to make, but I didn't get them done.  Too much going on, including illness #6, no it must be #5 because I think I have #6 right now.  I've never had so many cold, cough, and congestion type things in one single fall and winter.  It's become a joke.

I'm sorry to say that not only have I not blogged in forever and a day, I haven't even read a single blog in well over a month!  I've missed both, so it's good to (sorta) be back at it.  It might be slow going still, since I am really not joking about being sick so much.

This year, I made pillowcases and mailed them the week of Thanksgiving:


All were made as pairs, so 2 of each type.  A very underwhelming reception by the recipients, except for the pair that went to friends.  No more Christmas crunch sewing for me!  Bah humbug!

I had gotten a freebie tissue holder set to sew, so I made it up and gave it away.  Really easy and very cute!


I made a tote bag for my ds's Spanish teacher.  Wish I had taken the picture after I had sewn on the buttoms as they were perfect for the fabric!  This tote pattern is a freebie from a local shop and titled, "The 30-Minute Tote Bag".  I'll tell you now, it takes longer than 30 minutes!


Lastly, I made a table runner as a birthday gift.  It's called "The 10-Minute Table Runner" with good reason--that title is very accurate!


Before the holidays, I started on a pair of jeans.  They were set aside to work on the Christmas gifts, but they will be the first thing I finish this new year!  All that's left is the waistband, belt loops, and hemming.  More on those later.  

Saturday, November 5, 2011

Swimwear

At our last Sewing Guild meeting, a member brought a complete package for making a swimsuit for a little girl to our Ways and Means Table.  She showed it to me first since she knew I've made a couple of swimsuits.  And, look!  It has everything to make a swimsuit!  There's even a pattern, Kwik Sew 2884, in it.  It has all the elastic, lining fabric and the fashion fabric which won happy approval from youngest dd. 

While I won't work on this until next year, I was really pleased and excited to get this.  I was even happier that youngest dd loved the fabric!

Sunday, October 30, 2011

Gadget


I finally broke down and ordered this rotary arm gadget for my Olfa rotary cuttern.  It's called a Removable Rotary Arm Guide and I first saw it on a blog post by Sew-4-Fun.  I cannot find her post where she used it, but I did bookmark her answer to my question about it.  I had never seen anything like it in my area and since her post, I've really kept my eyes open for it.  I had found and bookmarked it at an internet store, but figured I had all the time in the world to buy it or get it as a gift.  Fortunately, I noticed that it was going to be a discontinued item and since it's been more than a year since I learned about this wondrous gadget, I figured I'd best be buying it.

Isn't it neat when you learn on the internet from other sewists?  I can really see that this will be useful for patterns that don't include seam allowances or where I want to add more to an existing seam allowance on a pattern--what a time saver!  I can't wait to try this new tool out!  I bought 2 of them, just in case!


Thursday, October 27, 2011

Biscornu

Biscornu means irregular shape.  In this case, it is a pincushion with 8 sides made to demonstrate all the fun stitches you can make on your machine using its decorative features along with a variety of needles like a wing needle.  My youngest dd made this one during a sewing guild sew in earlier this year and I finally got it sewn together for her.  It is rather awkward to do that which is why I did it for her.  She had the best time sewing the decorative stitches and it was an excellent way for her to become very comfortable with threading and unthreading her machine.  She knew how, of course, but when you have to thread and rethread many, many times in a couple of hours it becomes almost automatic!

She loved stuffing her pincushion!  I got a perfectly sized stuffing freebie during our guild's shop hop this year. 

Finished!  She chose the strawberry button for the center.

Monday, October 17, 2011

Bras

Long time, no posting!  I have been sewing quite a bit, off and on, between the kids' activities and a very long illness.  Some of the things I'm sewing will have to be shared later, like after the holidays!  I am doing an extremely poor job of focusing on sewing for myself which was supposed to be my resolution for this year.  However, I have enjoyed the gifts I've sewn for Christmas, but will wait to post them until after the recipients have gotten them so as not to spoil things! 

As the post titles says, I have been sewing bras.  I sewed up 2 of them which were leftovers from my bra workshop class at last year's American Sewing Guild conference. 


2 sets of bras all cut out and ready to sew.

Bra cups pinned and ready to sew.  Unfortunately, I found all the pinning awkward and annoying, so I undid it all and hand basted instead.  I will do this for future ones!

Bra strap with one edge scalloped.  These are time consuming to make!


2 completed bras!
 I have a few more bra kits that I can sew and hope to work on those soon.  They are more fun and colorful, too.  Bra sewing is a rather tedious endeavor to tell the truth, but the comfort and fit can't be beat by any that you can buy!

Friday, September 9, 2011

Simplicity 5364--Cinderella Pajamas

Before oldest dd went away to college (go Hokies!), the girls decided they wanted matching pj's.  Off to Joann's we went and they chose a pretty Cinderella print.  Oldest dd only wanted shorts for hers and purchased a plain white t-shirt to go with them.  Unfortunately, I forgot to get a picture of her before she left.  She sewed her shorts herself and I even let her use my serger after her fiasco with the swim suit and the serger.  I think she really likes the serger.

However, I do have pictures of her little sister modeling her completed pj set.  The original deal was that she would sew up her own pajamas, but when it came time to do this she did not want to.  I used Simplicity 5364 (oop) for the bottoms for both sets, but I made up my own pattern for this top.  I used a basic yoke pattern and a large gathered rectangle of fabric for the rest with the armholes cut out and bound. 


Pardon the wrinkles.  We aren't big on ironing our pajamas!


For closure, I did a simple button up the back just because this child loves her bedtime stories so there is always someone to assist her with getting on her jammies.


I seem to sew a lot of pj's.  And I have more pj bottoms to sew.  Not to be left out of the Joann's expedition, the guys chose some fabric so they could have some summer ones, too.  Sadly, the summer is pretty much all gone, but we'll see if I can't get them done soon so they can get a little wear out of them or they will be ready for next year! 

Thursday, September 1, 2011

Simplicity 2516 (skirt)--complete!

Today's sewing went smoothly which was a surprise.  I fixed the lining issue where I inserted the zipper by resewing the seam so that it faces to the inside.  It isn't as nice as the rest of it, but no one else will know.  Since the lining is slippery and frays some, I thought I would try Steam A Seam to hold the hem in place.  That stuff works well, but sure is annoying to place and get to stay put.  After all that on both the lining and fashion fabric, I didn't feel like stitching the hem, too.  So, I have a "cheat" hem!  But, I think it looks fine and I can always change my mind and go back and stitch it later!

Here's the finished skirt:


And, since writing this post I've worn the skirt a few times.  I really like it!  I've even looked through the stash to see what other fabric I could use to make it again, but nothing struck me.  Oh well.  I do not want to buy more fabric and have another project staring at me so I will just enjoy this skirt for now. 

Tonight was the due date for our Ugly Fabric Challenge.  I did not win anything :(   The ladies who did win were very creative and it was a lot of fun to see what everyone sewed and who got my ugly fabric.  This skirt was a win for my wardrobe though, so I'm happy :)

Wednesday, August 31, 2011

Simplicity 2516 (skirt) Day 4

Today was the day to start stitching everything together.  Sewing all the seams together was time consuming.  At first, I thought I would sew them using a straight stitch and then serge finish the edges, because of how slippery the fabric was.  However, I wasn't happy with how the serger stitching looked when I ran samples, so I figured I would just leave the edges raw.  That's kind of different for me since I typically finish each and every seam!

This was a super easy skirt to sew except for one thing--I planned to put in an invisible zipper and forgot to plan for that!  Oops.  And, once I realized my error, I still didn't think it through so that I unpicked the entire seam for both the lining and the skirt.  I guess it was the lining that really caused the issue--for some reason, I thought I could stitch the zipper to both the skirt and the lining at the same time.  By the time I realized that it would be a problem, I had finished the waist and there was no way I was going to redo all that mess.

So, I decided to sleep on it and do a faux hem on the skirt saving the lining for the last day. 

So, for today I got everything completed about the skirt except for the zipper problem and hemming the lining.

Again, sorry for the lack of pictures.

Tuesday, August 30, 2011

Simplicity 2519 (skirt) Day 3

Well, since I had marked on my delightful rick rack where the waist measurement for me should be, I was able to figure out that all I needed to do was sew my seams at the waist using a 1/2" seam allowance and taper it back out to 5/8".  Alternatively, I could've simply added an 1/8" to the pattern pieces at the waist, but I opted to do the first instead.  I could've also prevented all those steps by simply comparing my measurements to the pattern measurements--it seemed beyond me at the time and like I really needed to try something on for fit instead.

Today, all I got done was cutting out the fashion fabric and the lining.  Since both were slippery and very mobile, I cut them all as single layers and it was quite time consuming!  Although there are only 2 pattern pieces, you have to cut 4 pieces from 1 of them and 2 out of the other.  6 cuts for the fashion fabric and 6 for the lining.

No pictures to share at all!  Sorry!

This was actually a pretty good day's work!

Monday, August 29, 2011

Simplicity 2516 (skirt) Day 2

Day 2 saw me sewing up the muslin and trying it on.  I stabilized the waist using large rick rack because I seem to be all out of anything else remotely useful to stabilize something like this.  It was way too big at the waist because of my supersize addition on Day 1, but I just pinched that out and made a mark as to where it fit best. 

The day moved on and that was as far as I got.  It really wasn't too bad considering the skirt has a lot of seams.

Sunday, August 28, 2011

Simplicity 2516 (skirt) Day 1

In an effort to figure out when and why I'm more productive and perhaps to show myself that I am actually productive with my sewing, I thought I'd try blogging about the daily progress on this pattern.  I apologize in advance for any boredom you might experience.  It's really to help me understand how in the world I can be excited thinking about a project, but feel reluctant to do anything to begin the project...or finish the project.  I do actually finish a lot of projects, but it frequently seems that it takes me forever to do that.

The background on this particular project is that our local sewing guild is doing an ugly fabric challenge contest like last year.  People who wanted to participate brought 1 yard or more of usable fabric in a brown bag to our May meeting and we swapped them.  Our challenge was to sew it up into something more beautiful.  I got fabric I thought was pretty, but not something I would've bought to sew.  I think it's a polyester georgette and it said "skirt" to me.


So I chose Simplicity 2516--which was easy.  I enjoy perusing pattern books and looking online at the pattern companies.  It was a bit hard to choose just one, but since I had gotten almost 2 yards of this fabric, it gave me more options.  I wanted something kinda drapey and this pattern looks like it has it although it isn't cut on the bias but on the straight grain with flairs at the bottom.  I can't wait to see how this translates in real life with this fabric.

View B.  No second layer.

Of course, I have procrastinated about starting the project.  Here it is August, I got my fabric in early May, and the project is due on Thursday (today is Sunday).  I've had opportunities to work on it before, but haven't felt like it at all.  I have no idea why since I think it will make a cute skirt that I would wear.

On to the blog project:  What did I get done today?

First, I took my serger to my local sewing machine store to check it for the bottom of the needle that dd broke when she was "helping" serge her swimsuit.  They didn't find anything and I guess it was silly to worry about it.  In any event, I needed some new serger needles!

Then, I cut out the pattern tissue and compared it to my measurements.  The waist looks too small, but the hip should be fine.

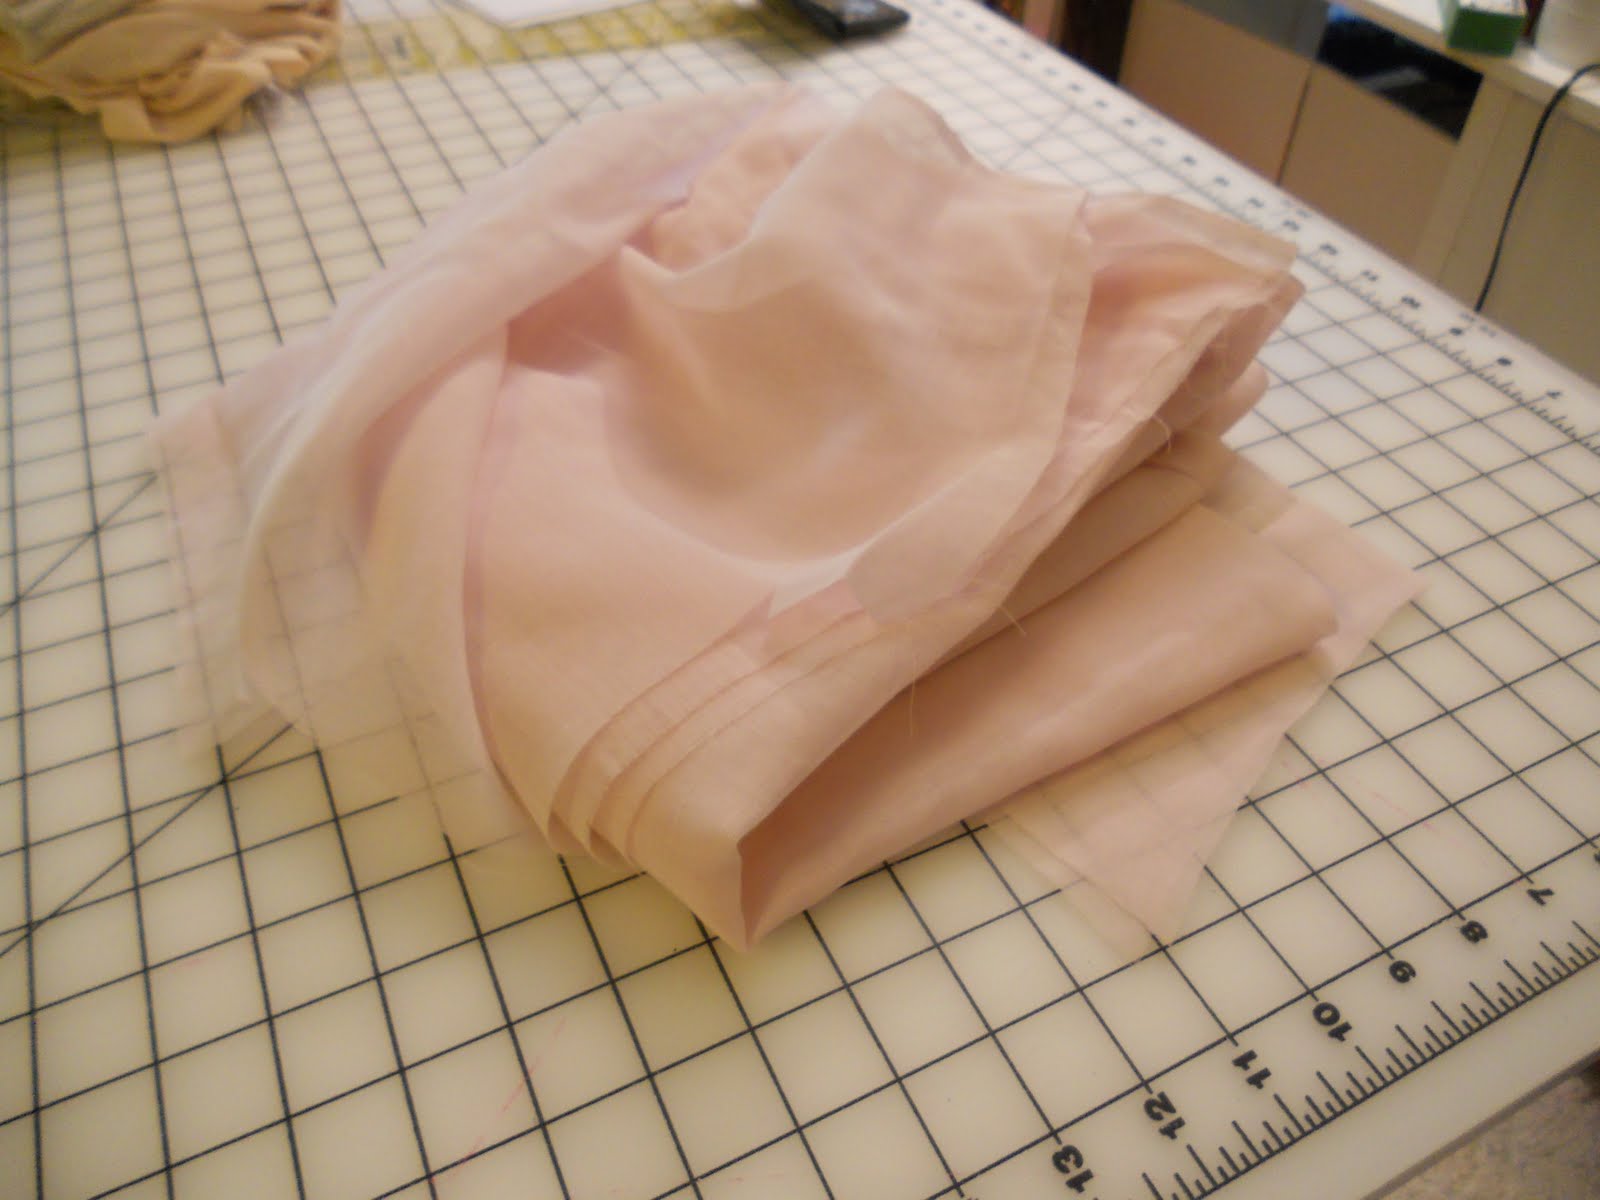
I pressed the tissue flat.  My eyes fell on some giveaway fabric that is really, really thin but has reasonable drape and I thought aha!  Muslin!  So I cut it out as a muslin with extra fabric in the waist area tapering to below the hip (I wasn't feeling very scientific about it at all).  No pics on how this muslin fit because this fabric is totally see through!


Assessing the project, there are only 2 pattern pieces....and I'm not doing an overlay, just a lining.  So it should be relatively easy, right?  Not a lot of progress, but it's a start.

Monday, August 15, 2011

McCall 3566 Swim Suit

I'm here to tell you the best kept sewing secret--making a swim suit is EASY!  It's also about the only way that I know that you can save money when you sew your own versus purchasing one.  One caveat about the process is that it helps a lot to have the wearer available to try it on during the sewing process so you can make sure elastic and straps are cut suitably.  It really saves a lot of time and trouble to have that.

I used McCall 3566 for oldest dd which I had found earlier this year for $0.50 at our local Joann's store when it was closing to reopen as new and improved (I think we all have doubts about that now it has happened and while it is much improved it has become extremely crafty!).  I only used one of the two swimsuit fabrics that I found not long after buying the pattern.  Time and energy ran short and, wow, mom is not a miracle worker!  Did I mention that it helps a lot to try the suit on frequently to make adjustments?  And, that when it isn't tried on, the seam ripper is your friend?  I am also tired of hearing the word "retro" in relation to this suit!  Dd could've chosen a different view or opted to make modifications so I wouldn't have to keep hearing this is retro!


I made Views C and F.

This stuff is super bright!


Sewing lingerie and knits made sewing a swimsuit pretty easy.  I also used the book Sewing With Knits by Connie Long as a reference.  She has excellent information on what stitches and settings to use both for the serger and the sewing machine.  I used a combination of the two since I am too lazy to set up my serger for a cover stitch after sewing the seams together.  You even end up with a finished product that looks like a bought suit!

I used the serger on a 4-thread setting for the seams of the suits and the white lining.  They are fully lined so I suppose twice the work, but I think it looks funny to only have the fronts lined.  I don't think the pattern called for much lining, but I confess I didn't read the pattern.  After serging the seams, I treated the lining and swim fabric as one whole piece and sewing machine basted all the raw edges prior to attaching elastic to them to prevent slippage.  Then I zigzagged the elastic to the edge stretching the elastic to fit for all areas except the leg openings.  I had stitched the elastic into a circle and marked it into 4 even parts prior to stitching again except for the leg openings.  The leg openings are done differently without any elastic stretching along the front and all of the elastic stretched for the back to accomodate bending and movement.  Makes sense.  After securing the elastic, I folded the elastic to the inside and topstitched it down using a twin needle.  They're pretty much done at that point. 

For the youngest dd, I didn't have a pattern.  I took two of her present suits and traced them out on Swedish tracing paper (great stuff!), added seam allowances and some guessing which resulted in a pretty good prototype.  I viewed this hot pink swim fabric as experimental anyway.  I had to redo the bottoms because they were way too snug.  Ready to wear little girl swimsuits have always had issues on my girls--the bottoms are too big and the tops always fall off or slide around too much.  If I bought a smaller size, then length was a problem.  So when I traced out her suits, I took the one that I thought fit best and shrank it some although in the case of the bottoms I got carried away or maybe I forgot to accomodate for a bigger seam allowance versus elastic allowance on the leg openings.  The top needed to be made somewhat smaller only at the top.  The only problem that I had with her top was that it fit perfectly at home.  It also fit perfectly at the beach until she went down to the water and started playing.  The straps needed to be shorted by probably 2" because they didn't stay on her shoulders at all.  Irritating.  She was a good and patient child, trying on the suit multiple times for fitting so it was too bad that this was a problem.  On the plus side, because I had made the top smaller around her chest, it stayed up so the straps weren't entirely necessary! 

Matching sisters!

Back view.


All in all, this was a quick and easy project even with having to draft my own pattern for the youngest dd's suit.  I think I will definitely sew more swim suits, especially for the youngest because she is so willing to try them on for fit!

Sunday, August 7, 2011

The Glisson Collection

A little known clothing and textile collection exists at Virginia Tech (of all places!  Who knew??).  It's called the Oris Glisson Costume and Textiles Collection.  I ran across it in my capacity of 2nd Vice President of Programs for our local sewing guild.  An act of desperation on my part because sometimes it is really hard to find interesting programs.  Or any programs.  As it turned out, this didn't become a program but became a field trip instead since they don't take the collection any where. 

So that non-locals know, Virginia Tech is a large university in Blacksburg, Virginia.  I suppose besides its football program, it is most famous for the very dreadful shooting that occurred there a few years ago.  It is also very well known for its engineering school, which probably explains why this collection is relegated to obscurity.

Anyway, not knowing what to expect, we were all totally awed by what we saw when we walked in the classroom.  There was a wide array of clothing and accessories displayed in the front and they all had information cards with them.  I think that is what makes this collection unique--it's all about the story.  The collection began because of a class that Oris Glisson taught dealing with different time periods and what people wore.  So her students would go home on Thanksgiving break or spring break and talk about what they were learning.  Well, someone at home would remember that Great Aunt Nellie wore an outfit just like that when she got married and next thing you know, they'd rummage in the attic and bring back to Tech that garment along with its story of who wore it, when and why.  Sometimes they even brought pictures of the garment on their great grandmother or whoever.  How neat is that?

And, since it's not like anyone needs to keep clothing from 50 or 100 years ago in the attic, the garments would be left at Virginia Tech to be used as samples of clothing from the various time periods.  The collection just kept growing and growing until its present size of around 5,000 items.  You can read more about it here.  The collection itself is in storage but some garments are on display on the lower level of Wallace Hall.

Here are some pictures I took of some of the things we got to see on our field trip:

An overview of part of the collection we saw.  Obviously, we only saw a very small fraction of it!


Lots of pintucks!  Neat details.

Dress made of netting.

Back view of dress--it's easier to see the netting and that it's underlined in beige.

Okay, there were prettier dresses in the collection, but I liked this one.

Suit--it's hard to see the skirt.

The dress that can stand on its own!  How funny is that?  This is when interfacing became a big thing and this dress has some heavy duty interfacing in it!

It's hard to see but the back of this dress has a zipper underneath and then another layer with a slit opening and I think a button closure at the top.  Neat design feature because you would expect to see skin because of the way the outer layer was done, but instead you get to see more of the dress fabric!

Man's bathrobe.

I cannot remember the name for this exactly but it was worn when the bustle was big and the bust needed to protrude too, hence the gathers in front to make that happen.

Man's beaver top hat.

Lots of men's top hats...and you can see their information cards. 
 Our presenter was rather pleased at having ladies who sew see the collection because we would all exclaim about pintucks, hems, fabrics and other construction details. 

Now, the sad part.  The collection has gotten so big and some of it is deteriorating so Tech will have to decide (eventually) what to do with it--a museum of its own, donating it to a museum....Who knows?  But, I think that they should have at least one Threads magazine article about it, don't you?  Or something similar--with all the stories surrounding the collection, it might make an interesting book. 

Monday, August 1, 2011

Mini Bow Tucks Purse Gift

Here's my second Mini Bow Tucks Purse.  I made this as a gift to the kids' piano teacher.  She has her graduating students do a solo piano recital and this is what we gave her.  Oldest dd did a great job and even did a duet with her db!

I didn't make any changes other than to embroider the piano teacher's name on it.  Next time, I think I'd like to experiment with the inside by adding some zippered compartments to make them more like a Baggallini.  I love those bags...but they sure don't come in loads of pretty fabrics!


Thursday, July 28, 2011

Cottonwood Quilt Shop

On a small excursion to the Cottonwood Quilt Shop in Charlottesville, VA, I found the cutest little scissors!  They came in different types and the handles were so pretty it was hard to resist!  Very inexpensive (less than $5) and perfect to carry around to snip threads when doing hand sewing or embroidery.


Cottonwood was full of interesting fabrics and patterns...and not just quilting stuff (I have decided I don't like quilting at all....but I do love the fabrics!).  They had some of The Sewing Workshop kits with a pattern and fabric--very expensive if you have never seen these.  That was rather an anomaly in a quilting store, but very nice to have the variety.  Their other pattern selections were very interesting with some neat purse ones.  I also found their toweling fabric interesting, but the only thing I bought was the scissors.  They were having a big fabric sale, too but I resisted because I don't want to keep adding to the stash!!!

Friday, July 22, 2011

Machine Embroidered Diploma

Yes.  Really.  You can embroider your child's diploma, paint one, make it a collage, you name it...when you homeschool in the U.S.  I think virtually everyone still does paper, but hey, homeschooling is very individualized and so is this diploma that I made for dd's high school graduation.  It seemed to suit her and it's fun and different.  Well, maybe not fun since I was aiming for something rather formal looking within the confines of my embroidery machine.  I don't have the software to manipulate fonts and all that so I was limited in what I could do.  But, I think it turned out well--here it is:


As a work in progress...Hooping.  Yuck!


We didn't have to name our homeschool.  It does seem silly after all, but somehow or other it became the Academy on the Hill.   We didn't have a graduation ceremony either.  Our family went out for a special dinner at a very nice local restaurant.  Dd's younger siblings each made her a card and after all of her parents' hard work over the years (we've homeschooled since kindergarten), she got a diploma and lots of special memories over the years (I hope).  Her brother has put in a request for a diploma made from wood...Thank goodness that isn't MY challenge because I would fail that one!  I do feel sorry for dh having to come up with that in a few years!

Friday, July 15, 2011

Cord Cover

I know that making an electrical cord cover to hide all the ugly wires isn't that exciting.  But, it's something I sewed.  Best of all, it must've worked because no one has noticed it!  I made this for our freshly painted living room to hide all the wires from the speakers that my dh hung.  The old radio is really only a shell.  My dh gutted it years ago to hide all the stereo equipment.