Thanks very much for the question and I hope you'll be able to find my answer to you since I didn't have an email address to reply directly. Anyway, I don't really know if the corks on the wall have improved the acoustics in my sewing room. For starters, I don't think we have enough area completed. The walls we've been doing are in the basement and the ceiling there is lower so the acoustics are already pretty good (i.e. we don't get echoes like you would in a large, empty room). I hope that helps...
SO! I have finally sewn something and completed it! I started this project in January and it was literally work on one very small thing a day, with many days that I didn't have time or energy to work. It was rather depressing. Equally depressing, I finished this in April and have not had a chance to BLOG!
 |
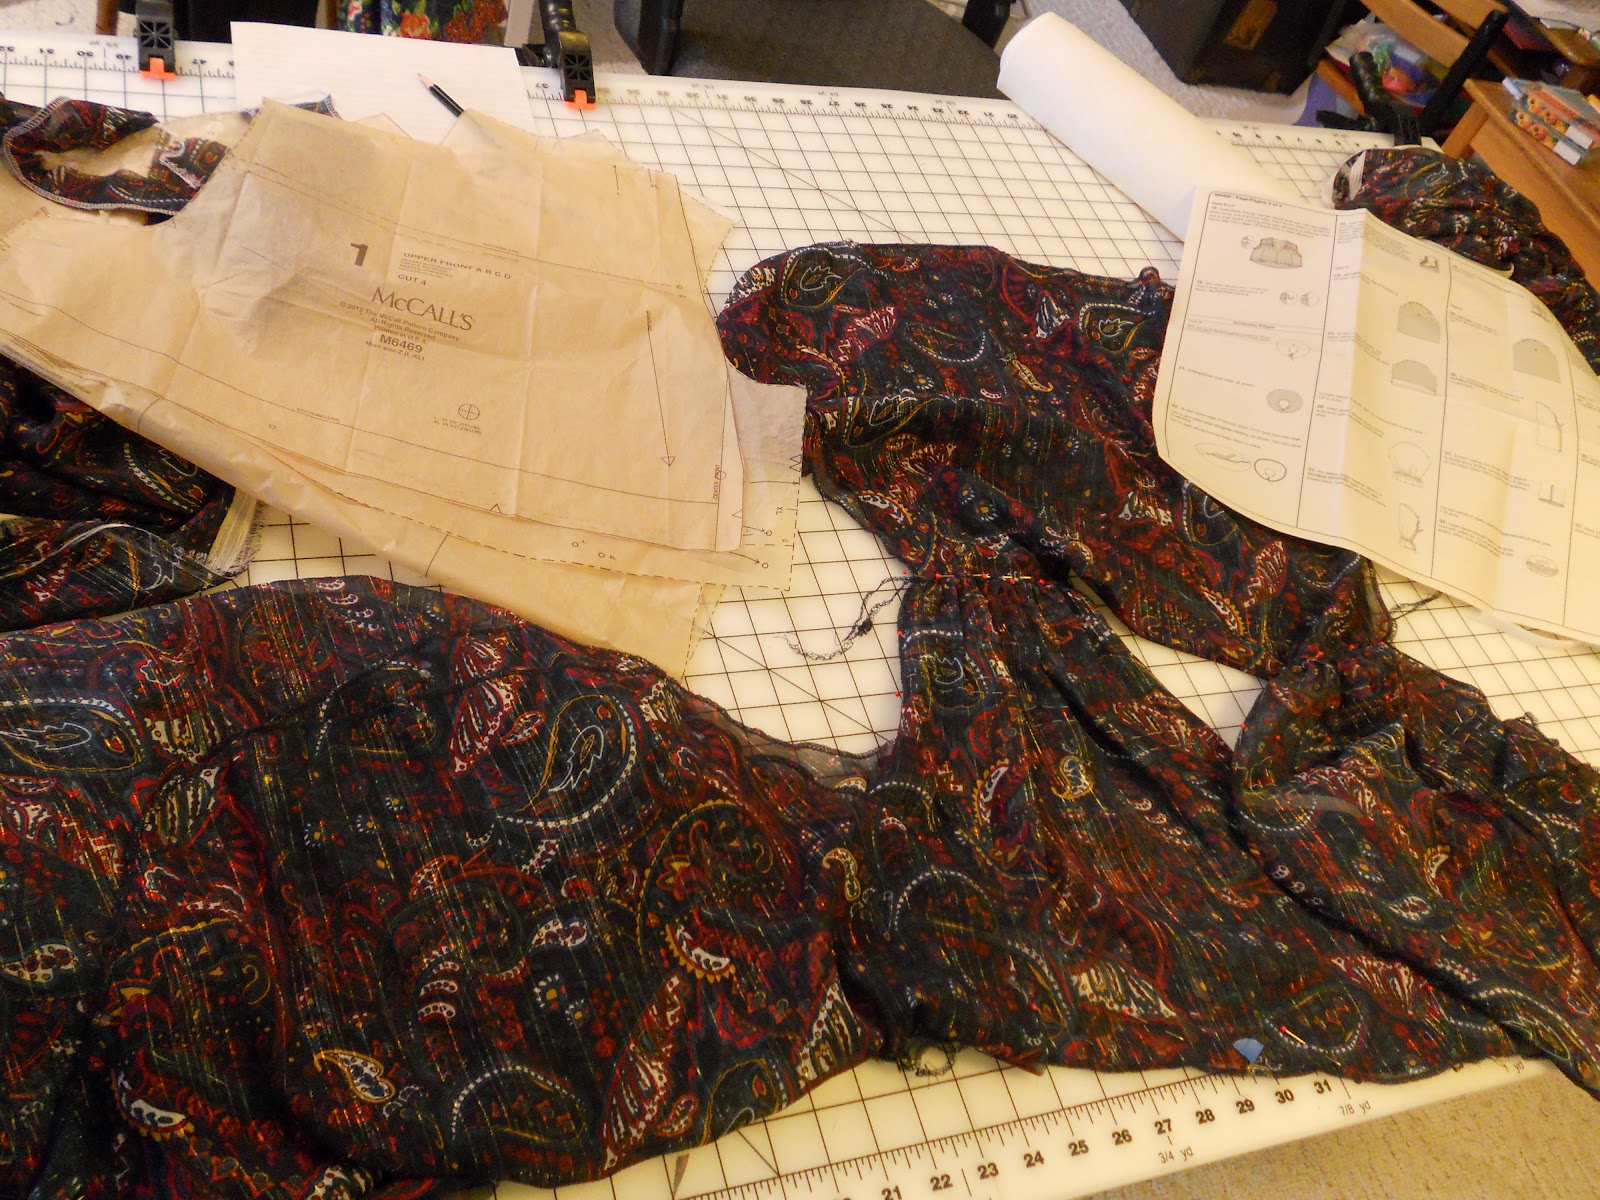
| McCall 6469 I made View D, the top left corner pic. |
 |
| My fabric--a polyester sheer with gold metallic from Joann's. It's NOT as bright as this pic... |
I guess most people post something about construction and I intended to but these pictures just leave a lot to be desired. The fabric was really difficult to photograph (and work with...if I'm going to invest that much time and energy in a project, that fabric had best be SILK!!!). I'll add a bit about the neckline elastic that creates the gathers in the front upper bodice.
The top went together pretty easily, but I didn't like the instructions for the elastic on either side of the neckline. Rather than struggle through their finnicky method, I developed my own (also finnicky) method. This would not have been nearly so difficult if I could've marked the fabric easily and well. Between it being a very dark and a very busy print (and polyester), nothing I tried worked well in the marking department--various types of white/gray pencils, chalks, thread basting (the fabric kept moving...)
So, what I did was to stitch the elastic where it needed to go when I stitched the neckline seam. I made sure to put a small safety pin at the other end of the elastic so I could work it through the casing later. I had not stitched the two rows to form the casing at that point. Next, I turned and pressed the entire upper bodice and stitched 1 row of the casing. A little lumpy with the safety pin.
Then, I stitched the 2nd row of the casing and eased the elastic through, securing it in the armhole seam. Nothing too exciting and I'm not sure that the pattern directions would not have been better...
 |
| Work on the casing beside the neckline. |
 |
| The upper bodice with one side of the elastic all completed and the other side pinned and in progress... And, this is the color of the fabric in real life, busy but not as bright as the other photos. |
 |
| Wiggling the elastic through. I don't know why, but when I went to buy elastic they didn't have any black. This would've looked much better with black! |
 |
I raised the neckline by a good 1.5" and it still wasn't enough. I need to shop for a cami to wear underneath it. Additionally, the shoulder seam pulls forward quite a bit (is that why the model on the pattern has her shoulder positioned oddly?). The front of the bodice needs to be longer to adjust this--wish I had been able to catch this sooner, but despite trying on during the process it was difficult to notice that it would be a problem. No pictures on me because it just wasn't happenin'!  And now that it's done, the weather is too warm for it! Ha haha! I'm not sure that I like it because of the sleeves and the volume of fabric. I did want something different and floaty and this meets those requirements but...I'm still not sure it's "me". That's okay, it was an interesting and engaging project and I know that I will wear it some when the weather cools down much later this year :) More later--I have been sewing quite a bit, just not posting at all! |
5 comments:
What a great job on such a challenging project!
Very nice top!!You did a great job.
It is a really pretty blouse. I had not seen this pattern before. It will be waiting in your closet when cool weather comes and you want something new and pretty to wear.
Love, love, love this top!!! You can always pass it on to your step-mother if you decide you hate it! Nice job!!!! Hugs....
Your blouse came out absolutely perfect. I am also working on
M6469. But unfortunately I am stuck on the directions. And I was wondering if it would be at all possible to clear up my confussion. The top part is view B and the bottom is View A. Direction 41 and 42 seems like a contridiction....or is it me? Is it right sides together or one right side one wrong side?
Post a Comment